Oct 12, 2015 Incompatible kernel extensions. A second option is if your Mac has incompatible kernel extensions installed that have bypassed the OS X Installer’s detection routines. In general, these will be placed in an Incompatible Software folder at the root of your boot drive, but if not then they may affect your system’s ability to boot. Aug 03, 2017 2. Connect the backup drive to the NEW Mac. Use Migration Assistant to select the backup drive as 'the source' and let the migration proceed that way. Also, BEFORE launching MA, I do a 'get info' on the external drive (connected to the NEW Mac), and down in the sharing and permissions area, I set it to 'ignore ownership' on the external drive.
- Mac User Migration Hangs At Looking For Incompatible Software 2016
- Mac User Migration Hangs At Looking For Incompatible Software 2017
Hello everyone, I had been struggling with a Apple migration from an older pre-2013 iMac to a new iMac with Yosemite. Like many many others around the internet, we found that it lost sync or would hang and we would give up after 20+ hours of transfer time. I just bought a new iMac today and I am trying to use Migration Assistant to move all my info on my Mac Pro to my new machine. The problem is that the Migration Assistant is getting stuck at the 'Looking for source' step, trying to find my old Mac with no success.
Migration Assistant copies all of your files to your new Mac so that you don't have to copy your files manually.
- If your files are currently on a Windows PC, follow the PC migration steps instead.
- If your new Mac is using OS X Mountain Lion v10.8 or earlier, follow the Mountain Lion migration steps instead.
Check software, settings and power
- Install all available Apple software updates on both Mac computers. Install any updates for your third-party apps as well.
- Make sure that your old Mac is using OS X Lion or later.
- Make sure that your old Mac has a computer name: Choose Apple menu > System Preferences, then click Sharing and check the Computer Name field.
- Connect both computers to AC power.
Connect the computers to each other
- If both computers are using macOS Sierra or later, just make sure that they're near each other and have Wi-Fi turned on. If either is using OS X El Capitan or earlier, connect them to the same network using Wi-Fi or Ethernet.
- Or connect them using target disk mode and the appropriate cable or adapter. Then start up your old computer in target disk mode.
- Or connect your new Mac to a Time Machine backup of your old Mac.
Use Migration Assistant
On your new Mac: Free comic book reader.
Mac User Migration Hangs At Looking For Incompatible Software 2016

- Open Migration Assistant, which is in the Utilities folder of your Applications folder.
- Click Continue.
- When asked how you want to transfer your information, select the option to transfer from a Mac, Time Machine backup or startup disk.
- Click Continue.
On your old Mac:
If you started your old Mac in target disk mode or are migrating from a Time Machine backup, skip these four steps.
If you started your old Mac in target disk mode or are migrating from a Time Machine backup, skip these four steps.
- Open Migration Assistant.
- Click Continue.
- When asked how you want to transfer your information, select the option to transfer to another Mac.
- Click Continue.
On your new Mac:
- When asked to select a Mac, Time Machine backup or other startup disk, click the appropriate icon.
- Click Continue. You might see a security code.
On your old Mac:
If you started your old Mac in target disk mode or are migrating from a Time Machine backup, skip these two steps.
If you started your old Mac in target disk mode or are migrating from a Time Machine backup, skip these two steps.
- If you see a security code, make sure that it's the same code as on your new Mac.
- Click Continue.
On your new Mac:
- Choose the backup to transfer information from.
- Click Continue.
Continuing on your new Mac:
Jan 14, 2020 macOS Mojave updates improve the stability, performance, or compatibility of your Mac and are recommended for all Mojave users. To get these updates, choose System Preferences from the Apple menu, then click Software Update. Learn more about updating the software on your Mac. For details about the security content of these updates, see Apple. There are two areas to check for updates for your Mac, the System Software and the Apps installed from the App Store. Update System Software. Open the Apple menu, and select System Preferences. Select Software Update. Any updates to your System Software will be offered here. Update App Store Apps. Open the Apple menu, and select App Store. Oct 18, 2019 Open the App Store app on your Mac. Click Updates in the App Store toolbar. Use the Update buttons to download and install any updates listed. When the App Store shows no more updates, the installed version of macOS and all of its apps are up to date. That includes Safari, iTunes, iBooks, Messages, Mail, Calendar, Photos, and FaceTime. 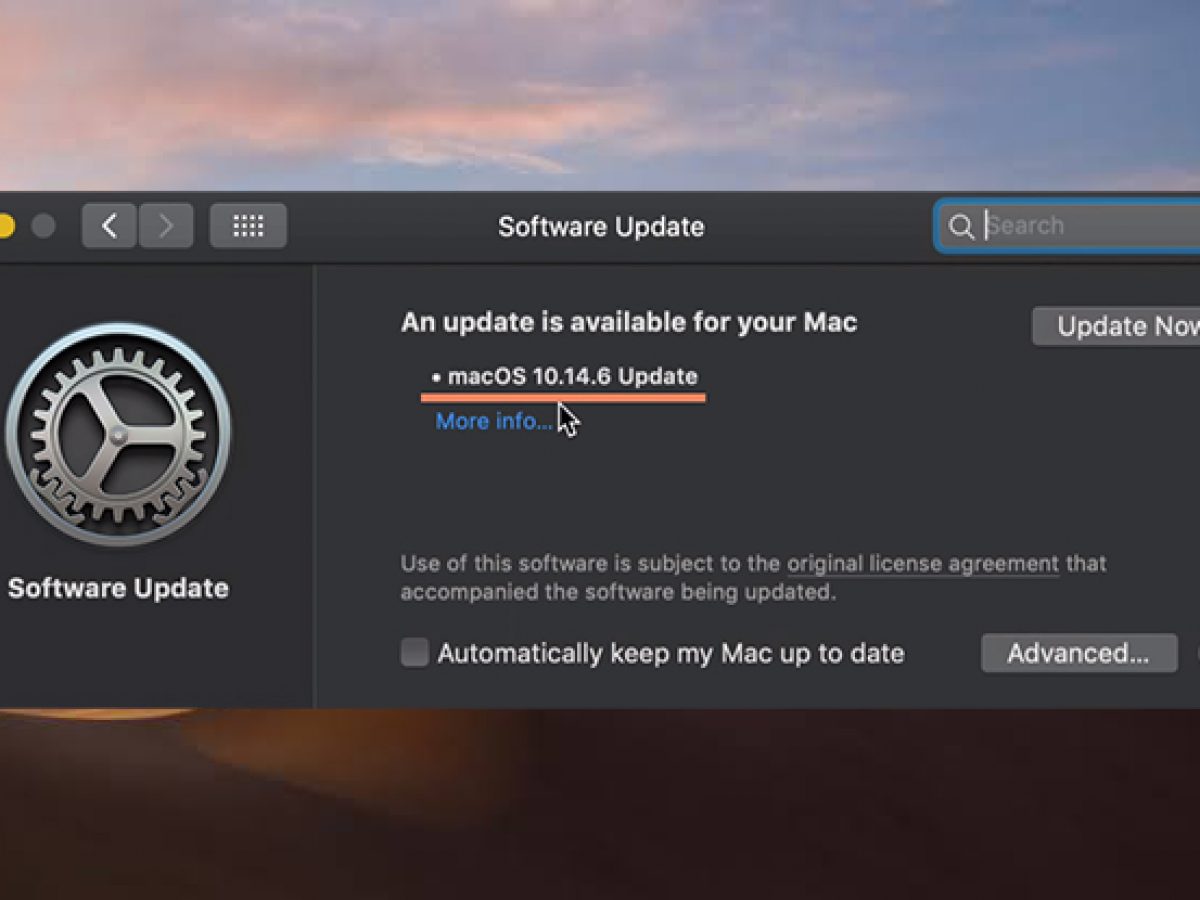
- Select the information to transfer from the backup.
- Click Continue to start the transfer. If you have a lot of content, the transfer might take several hours to finish.
Mac User Migration Hangs At Looking For Incompatible Software 2017
In the example above, John Appleseed is a macOS user account. If you transfer an account that has the same name as an account on your new Mac, you're asked to rename the old account or replace the one on your new Mac. If you rename, the old account appears as a separate user on your new Mac, with a separate home folder and login. If you replace, the old account overwrites the account on your new Mac, including everything in its home folder.
After Migration Assistant has finished, log in to the migrated account on your new Mac to see its files. If you're not keeping your old Mac, learn what to do before you sell, give away or trade in your old Mac.
Apple has a tool that’s built inside every Mac to help Windows users migrate much of their most important data over to the new platform when they decide to upgrade to a far more secure and more robust macOS system.
Windows Migration Assistant is software that’s built inside every Mac. It works with Windows XP and later and. will install lots of stuff from your PC to your Mac, including desktop background, any e-mail accounts, contacts, bookmarks, iTunes music and other data.
There are some limits on some Windows installations which means the information Apple can bring across is dependent on which version of Windows you are running.
Here is Apple’s list of what it will migrate.
1.Back-up before you begin
Before you migrate to your new Mac, you should make sure you back-up all the data from your Windows system, ideally to an external hard drive. Most Windows users I speak to recommend using something like Cobian Backup or FBackup for this process. Both of these applications are free. You may want to take the precaution of exporting all your contacts data to iCloud online.
2. Update the software on both computers
Now you’ve backed up your data you should launch both your new Mac and your Windows machine and make sure they are both on the same network (wired or wireless). You should also make sure to update both computers to the latest OS version available to them. (Apple Menu>About this Mac>Software Update).
3. Download Migration Assistant to your PC
You must download and install the Windows Migration Assistant.
- Windows Migration Assistant for macOS Sierra or later
- Windows Migration Assistant for OS X El Capitan or earlier
- A new version of the software is expected for macOS Mojave
Once installed, open the software and tap Continue.
Use Migration Assistant on your Mac
If it’s the first time you’ve launched your new Mac Set Up Assistant shold open automatically. If it does not you should open Applications>Utilities>Migration Assistant on your Mac, select From Another Mac or PC and then click Continue
You’ll be asked for your Mac password.
[amazon_link asins=’B076HZLPV2′ template=’ProductCarousel’ store=’9to5ma-20′ marketplace=’US’ link_id=’6b88eeb3-9a4f-11e8-a0ad-194fc3b5c604′]
You’ll be asked to quit all active applications after which the Mac’s Windows Migration Assistant will show you the PC you want to migrate your data from. Click it to select it.
You’ll be asked to enter an automatically-generated passcode. It will appear on your Mac, then PC, after which you press Continue.
You then select what information you want to bring across — you’ll see a box with checkboxes beside each information type.
Once you’ve done so, tap Continue and the process will complete. Mac app multi desktop icons.

Don’t be too impatient – the process can take some time over the network if you are migrating a lot of data, but you’ll be told once the process is complete.
Enjoy your Mac!
Share
